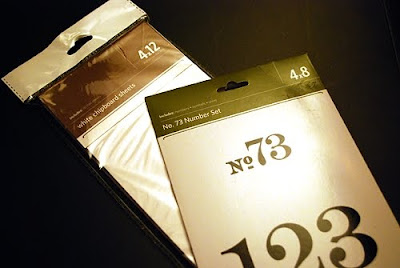
There are so many ways to embellish die cuts that you create using the QK chipboard sheets (ADH-SHEETS-06). Here are nine ideas to get you going:
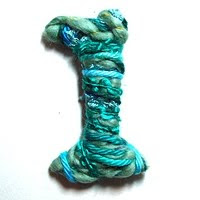
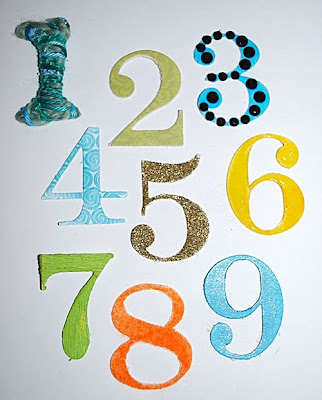
1. Wrap it! Wrap your shape with twine, ribbon, string, or fibers. The adhesive side will help hold the fibers to your shape.
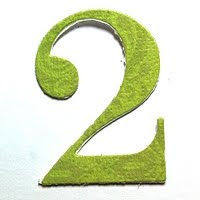
 2. Cover it up! Cut your shape with chipboard and cut it again with patterned paper, then layer the two shapes so the patterned paper is on top.
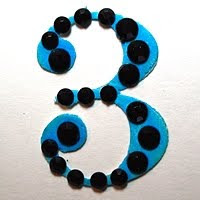
 3. Bring on the bling! You can dazzle by adding gems, rhinestones or pom poms to your chipboard shapes.
 4. Add texture! Use your QK embossing folders to add fun textures to your shape. Make the texture stand out more by inking or painting over it.
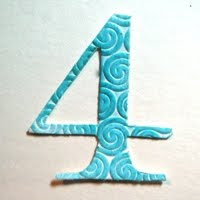 5. Glitter! Expose the adhesive side of your shape and layer on the glitter for a grand effect.
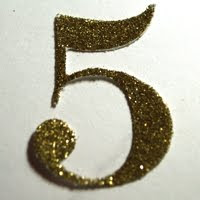 6. Gloss! After you cover, ink, or paint your plain chipboard you can give it one more level of dimension by adding a layer of gloss (such as Glossy Accents or Diamond Glaze) to make it shine.
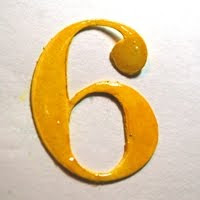 7. Pour on the paint! Acrylic paint, craft paint, or even Distress Crackle Paint add custom color and texture to your chipboard shapes without warping them.
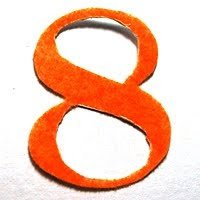
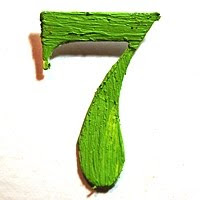 8. Flock it! Use loose flocking or crushed velvet texture to add warm fuzzies to your chipboard creations!
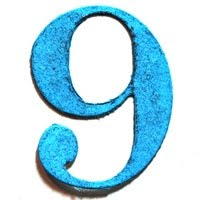
 9. Spritz it! Spray your shapes with Glimmer Mist or Maya Mist for a fast even color coating.
 There you have it....nine tips to get you started! With 18 sheets of chipboard in each package, you'll have enough supplies to come up with 99 ideas! Can't wait to see what all of you post in the QK Community Gallery! If you want your shapes to appear even thicker, you can cut multiple die cuts and layer them on top of each other. Sometimes it helps to remove the foam from your shape before cutting to get a cleaner cut through the chipboard.
Have fun!
Joyce McCall
QuicKutz Ambassador


